Atmosphere Sky’s advanced carbon filter tackles airborne odors and contaminants at home in as little as 20 minutes!
How to buyProduct code:120541Atmosphere Sky’s advanced carbon filter tackles airborne odors and contaminants at home in as little as 20 minutes!
What It Does For You
- Activated carbon effectively removes odors from the air.
- Also removes contaminants including formaldehyde, dioxin, ozone and benzene.
- Effective against tobacco, pet, cooking and other household odors.
- Replace when prompted to quality for Atmosphere Sky’s Renewable Warranty. More details are to find in Owners Manual.
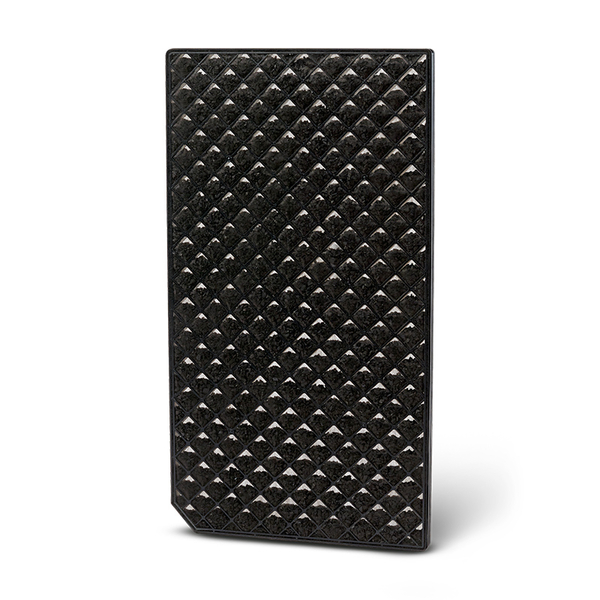
Why You Would Like It
The Atmosphere Sky Air Treatment System uses a three-stage filtration process for maximum effectiveness. The third and final filtration stage uses an advanced carbon filter, which reduces unwanted odors, such as tobacco, cooking and pet odors, as well as contaminants like formaldehyde, dioxin, ozone, benzene. The carbon filter should be replaced when prompted by the device, in order to guarantee ongoing performance and qualify for Atmosphere Sky’s Renewable Warranty.
Facts For You
- The third filtration stage – a powerful odor eliminator and contaminant remover.
- Activated carbon has a capacity for virtually any vapor contaminant.
- Carbon filter air purifiers can absorb and retain a wide variety of chemicals at the same time.
- Activated carbon is also inert and safe to handle and use.
- Activated carbon works well under a wide range of temperature and humidity conditions.
Carbon filter life lasts from 4 till 12 months (depends on air quality and usage).
Key Features
- Easy to remove and install in seconds.
- Replace when prompted by the Atmosphere Sky unit and Atmosphere Connect App.
- Register replacement filter installation to qualify for the additional 365 days of Renewable Warranty coverage commence on the date of filter installation and registration.
How To Use
- Power off and unplug the unit.
- Remove the front cover of the unit by placing your fingertips under the upper most edge of the front shield, gently pull up on the shield to disengage (should hear snap) then lift the shield off the unit.
- Remove the Pre-Filter/HEPA by disengaging the lock at the top of the HEPA Filter. Set these filters off to the side.
- Remove the Carbon Filter set off to the side. Note: Make sure you do not let any carbon particles stain your clothing, furniture or carpeting.
- Remove your new Carbon Filter from the packaging
- Reinstall your new Carbon filter into your unit. Note: there is an angled edge on the carbon filter. This edge will fit inside your unit on the lower left.
- Install the Pre-Filter/HEPA filter combination and lock into place.
- Replace the front shield by positioning the shield over the display and let it gently fall into place engaging the magnets on the bottom of the shield. Then gently push until you hear a soft snap at the middle of the shield at the upper most edge of the display.
- Plug in your unit.
- The Carbon Filter monitor light will automatically change from red to green. You will be also noticed by the Atmosphere Connect App, where you can track filters’ life.